
One of the things you will love when you buy a new computer is that you have something brand new and beautiful. You always feel good when something new and shiny is playing on your table and you wonder why you had to use the old machine for such a long time. However, within the first few days, you will realize that the old machine had its benefits too. Most of your work within a few days will be setting up a new system from scratch. That can be stressful and time-consuming. One of the stressful tasks is the exportation of iTunes music to the computer. The process can take several hours, especially when transferring large libraries and files.
Even though we cannot save you the time and stress involved with the music transfer, we are here to provide you with the steps you should follow when transferring iTunes albums, songs, playlists and covers to your new computer. The migration will also transfer all the metadata for your music tracks. That includes the skip count, play count, date added, star ratings and any other related information. You can transfer the old iTunes library to the new computer in various ways. Rocketfiles.com and iTunes Portable facilitate easier transfer. Here are the methods to use.
Possibly, this is the easiest method of transferring an iTunes library from the old computer to the new one. The method also allows the whole library to remain in synch across various platforms. Unfortunately, this method will not make permanent backups, which means that you will have to store your media in external memory devices.
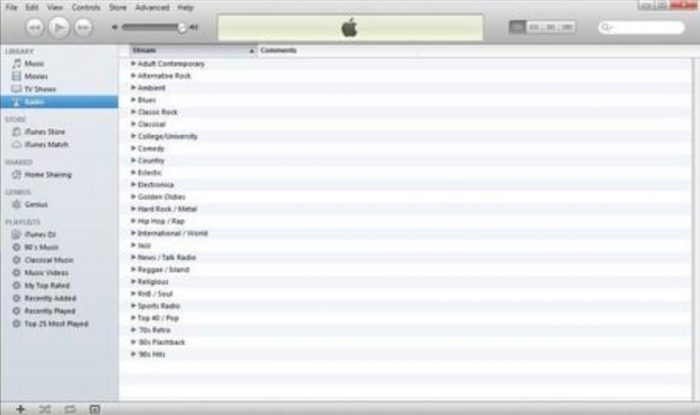
For the transfer part, you need iTunes 9 or one of the later versions on your two computers, an iTunes or App Store account and a working internet connection. Turn on the Home Sharing on your old computer or the computer hosting the files. Go to the Advanced and Turn on Home Sharing in iTunes 9 or 10. For iTunes or the higher versions click on File >> Devices >> Turn On Home Sharing. If you have an Apple ID, you can enter it in this stage or create one through the Apple Website.
On the new computer, click on Store >> Authorize Computer and enter your Apple ID. Turn on Home Sharing. A menu will show up in this stage displaying various media types like Music and Books. Click on the form of media you would want to share. Choose “Import to complete the transfer.
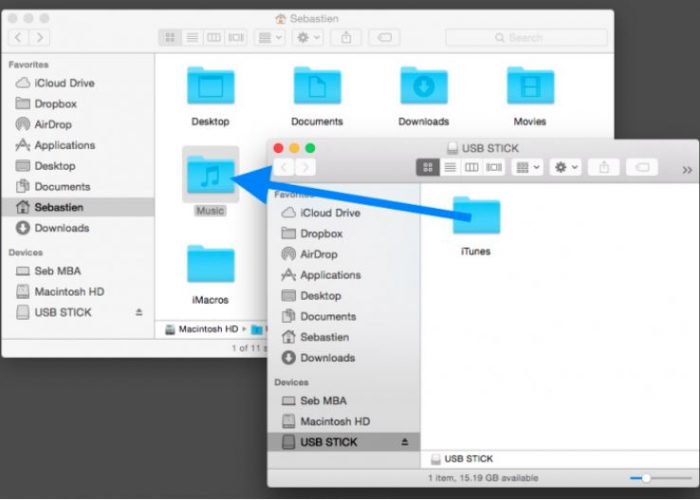
This method will require you to have DVDs, CDs, an iPod or hard drive to carry files from the old computer to the new one. The process will take longer than the previous method but it is a good option for people with an unreliable internet connection. To locate the iTunes folder, go Edit >> Preferences >> Advanced to locate the folder. Open iTunes. To burn everything easily, consolidate everything. If you are using the iTunes portable 9 or a later version, go to File >> Library >> Organize Library >> Consolidate Files. If you have an earlier version go to File >> Library >> Consolidate.
You should now burn the files to the external media device. After that open iTunes on your new computer, insert the external media and copy all the files into the hard drive. Import them to iTunes. The burning process will a longer time, but the importation will be faster. The external media device may also serve as the backup.
Windows Migration Assistant
Download the Windows migration Assistant on your PC – both the old and new. Open it and click on Continue. Wait for a few minutes, then go to your new computer, and open the software through the utility folder. Click on the “From another PC” option after it pops up and click on “Continue”.
If you have many computers, choose the one containing the iTunes information and wait for several seconds for a number to appear on your computer screen. Go back to the old computer and wait for the number to appear. Click on the “Continue” button after it appears. Move to the iTunes folder and check it and any other file you would want to transfer. Click on continue and wait for the transfer to end.
Move the authorized purchases
This method is faster but limits you to the files you bought through iTunes. If the library has movies and songs from CDs and DVDs, the method will not be helpful. Start by synchronizing the purchases with iPad, iPod or iPhone. Go to the new computer and open iTunes >> Store >> Authorize This Computer option. Enter your Apple ID in the new menu and click on the Authorize button. Now, connect Apple to your new computer and click on the Transfer Purchases option. If the menu does not appear, click on File >> Devices >> Transfer Purchases. The transfer process will take roughly 30 minutes.
Conclusion
The process of transferring iTunes Library from an old computer to a new one is easy and you can do it in various ways. The home-sharing method is the best and easiest, but the other methods will help you transfer the files faster.


